rosco_m68k - build
Building the rosco_m68k.
back to main rosco_m68k page.
work log
2022-05-26: I 3D-printed standoffs for the rosco_m68k board from the Github code linked from Thingiverse:1528494. Temporary, but it is better than having the board laying directly on a surface. I changed the following parameters
//Type of standoff(s) to generate
Generate = 1; // [1:Single, 2:Array-Same, 3:Array-Samples]
/* [Body] */
//Choose shape of the main body
Shape = 3; // [1:Round, 2:Square, 3:Hex]
//Select height of the main body,  mm
BaseHeight = 5; // [0:50]
//Select diameter of the main body, mm
BaseDia = 6; // [0:30]
/* [Top] */
//Choose style of the top section
Style = 1; // [1:Male, 2:Snap-In, 3:Flat, 4:Female, 5:Hollow]
//Select height of the top, mm
TopHeight = 4; // [2:20]
//Select diameter of the top, mm
TopDia = 3.1; // [1:25]
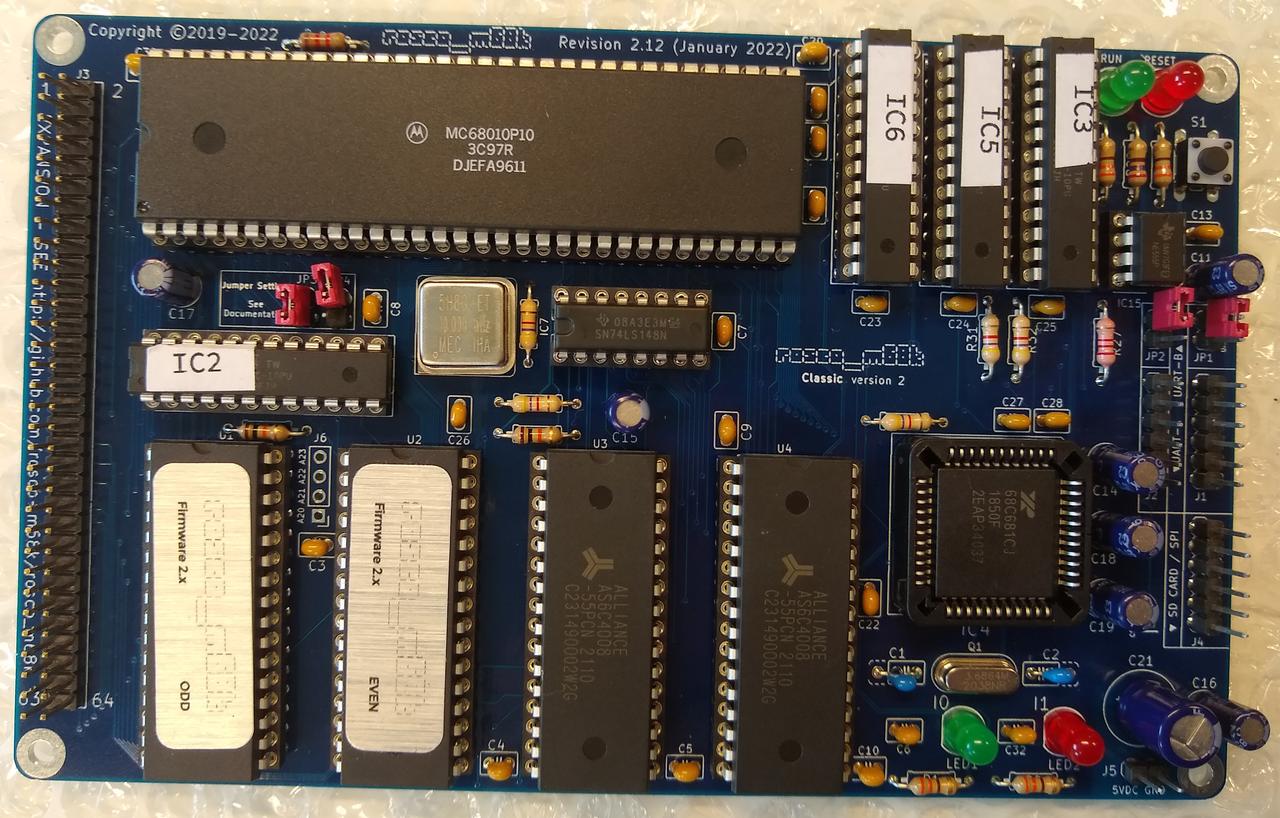
2022-05-26: populating the board. I put the ICs in the sockets in this order:
IC15 - 555N (part of reset circuit)
IC4  - DUART
IC7  - SN74LS148N
IC2  - ATF22V10C - GAL - address decoder
IC3  - ATF22V10C - GAL - duart sel
IC5  - ATF22V10C - GAL - watchdog
IC6  - ATF22V10C - GAL - glue logic
U4   - AS6C4008-55PCN - RAM
U3   - AS6C4008-55PCN - RAM
U2   - SST39SF040 - EEPROM - ROM even (labeled "rosco_m68k", "Firmware 2.x", "EVEN")
U1   - SST39SF040 - EEPROM - ROM odd (labeled "rosco_m68k", "Firmware 2.x", "ODD")
IC1  - MC68010P10 - CPU
the build is now complete, ready for testing. Pictures: complete 1, complete 2.
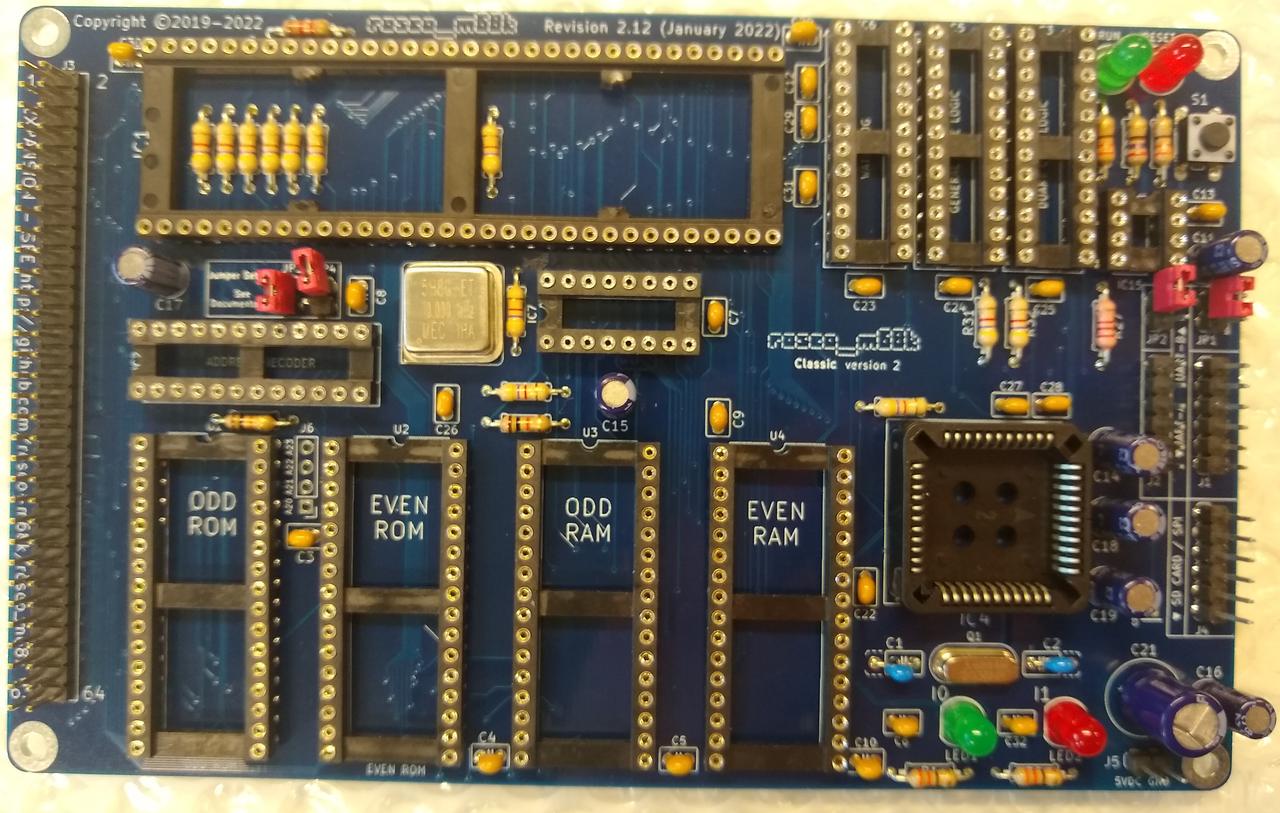
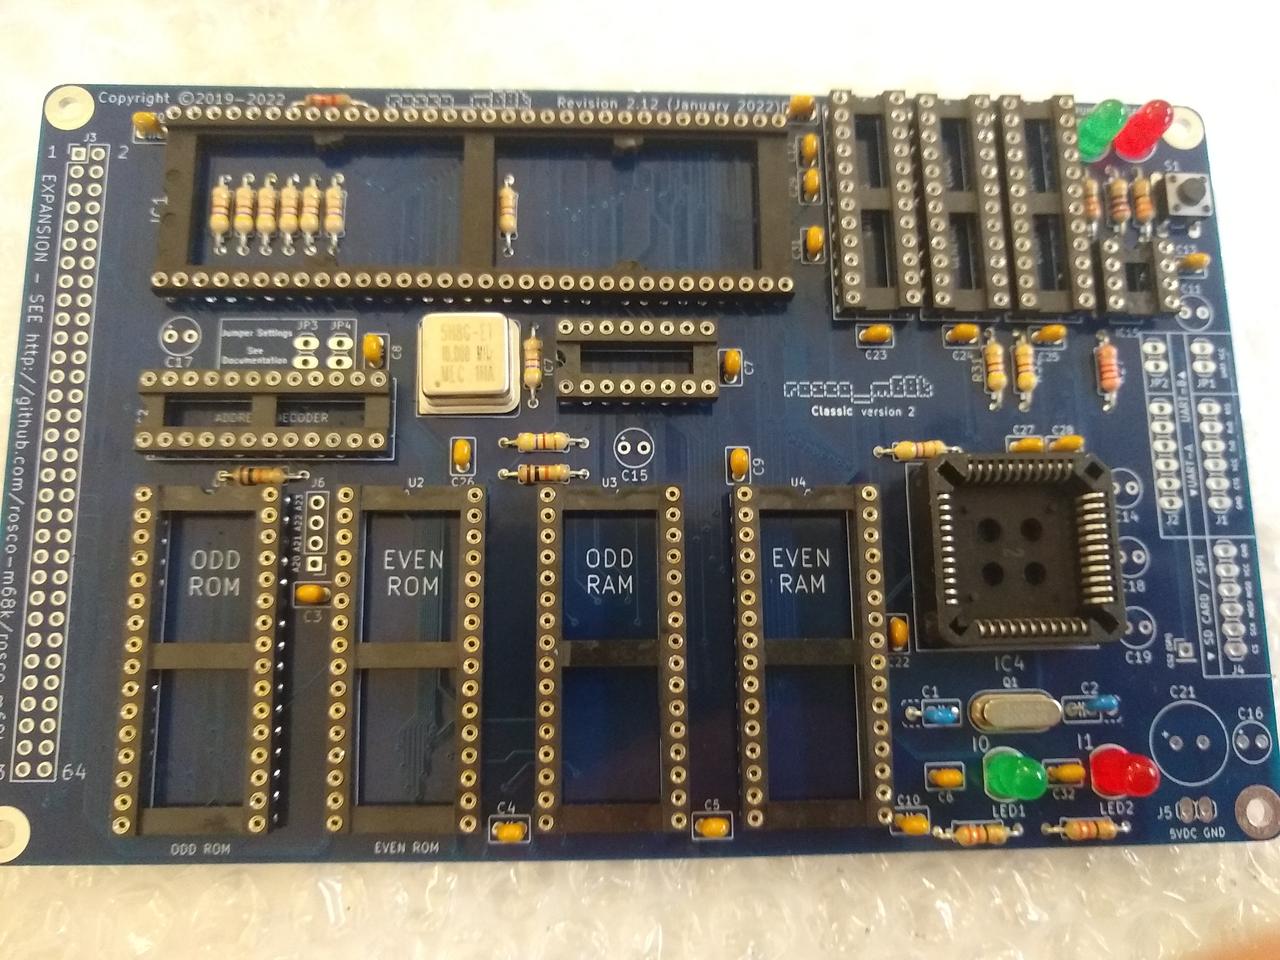
2022-05-26: build night at Bitraf again. Only the electrolytic capacitors remained, they got soldered in place: C21, C11, C19, C18, C17, C16, C15, C14. The board is now complete, except for populating the ICs. Pictures: picture 1, picture 2.
2022-05-19: another build night at Bitraf. I soldered the sockets for IC15, IC7, IC2, IC3, IC5, IC6, U4, U5, U2, U1, IC1, IC4. Then I soldered in the LEDS: LED1 (green), LED2 (red), LED3 (green, RUN), LED4 (red, Reset). Here is a picture. Next up was all the pin headers, and the expansion connector. That was all I had time for.
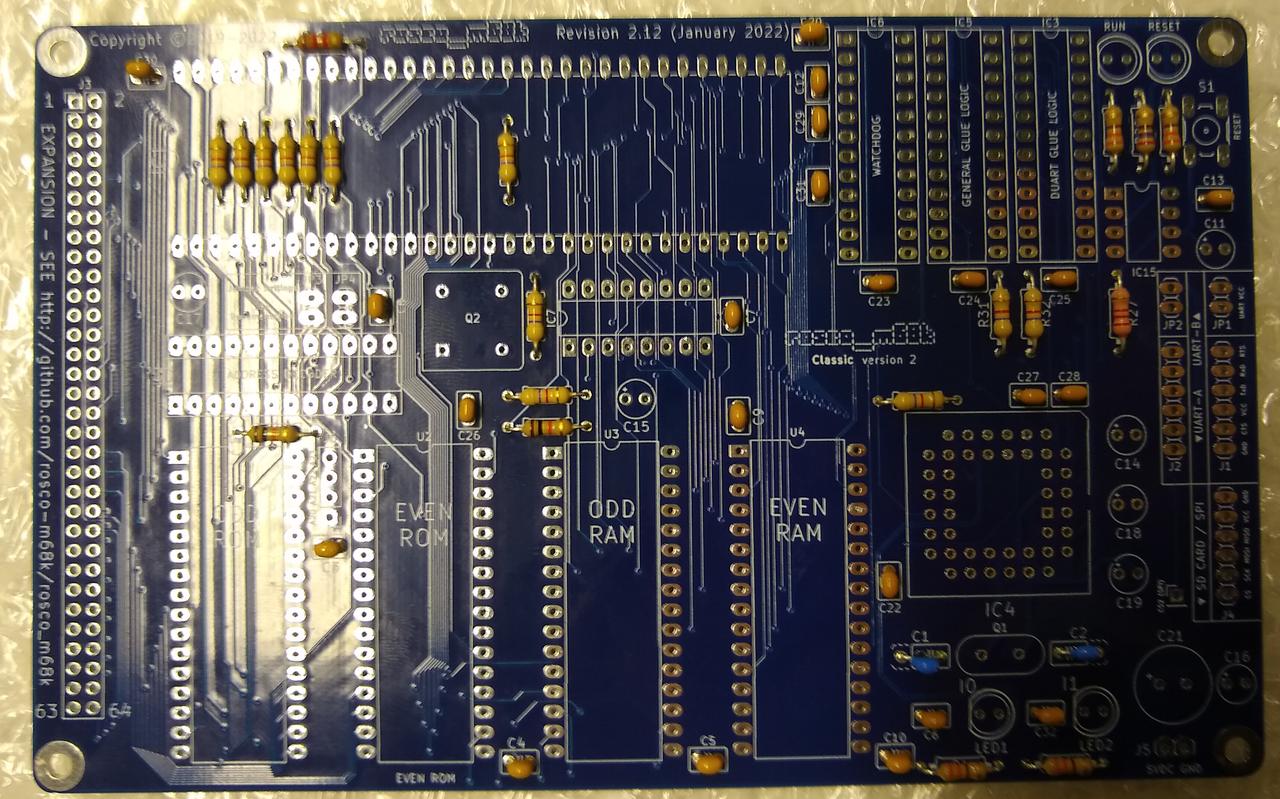
2022-04-28: I managed to solder the oscillator / crystals and the switch before I had to call it a night. picture.
2022-04-28: Next up was all the small capacitors: picture.
2022-04-28: First I soldered all the resistors: picture.
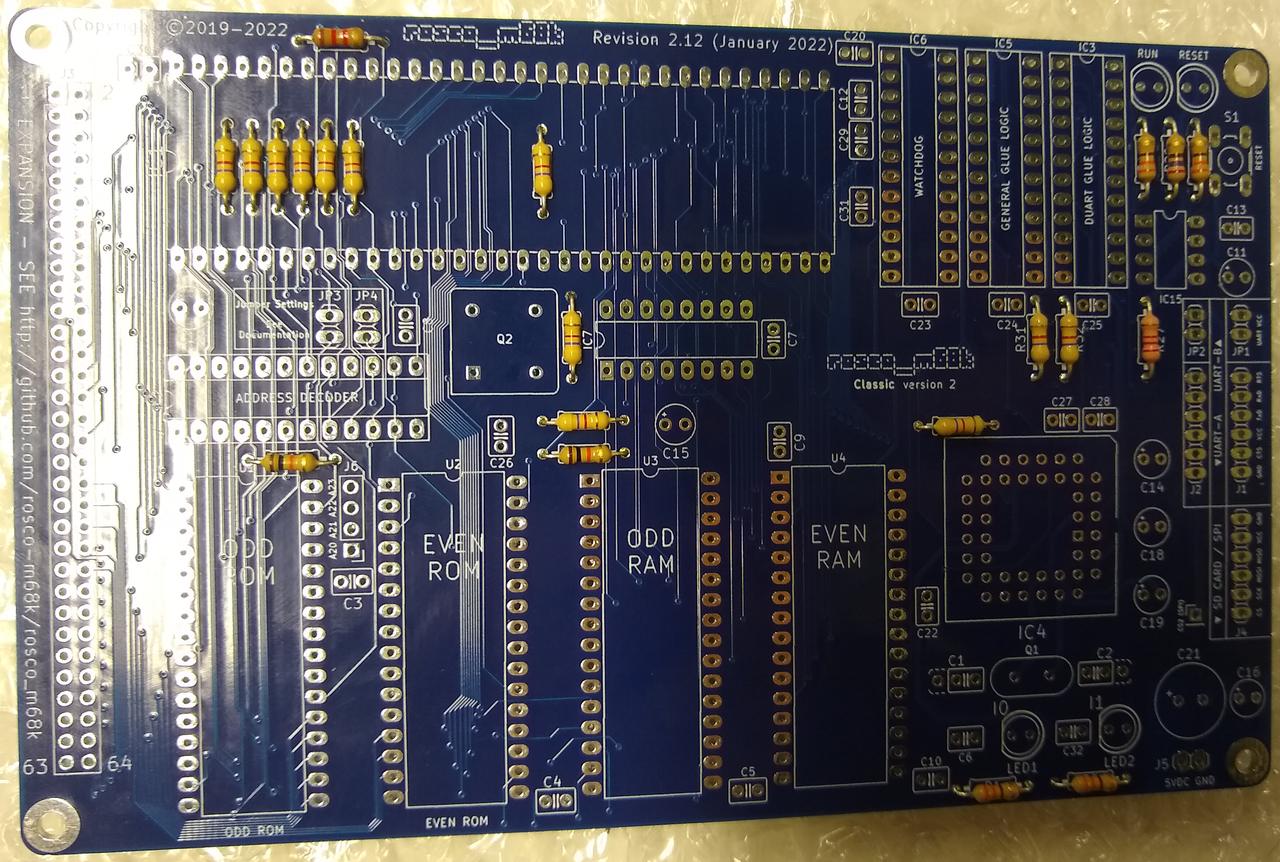
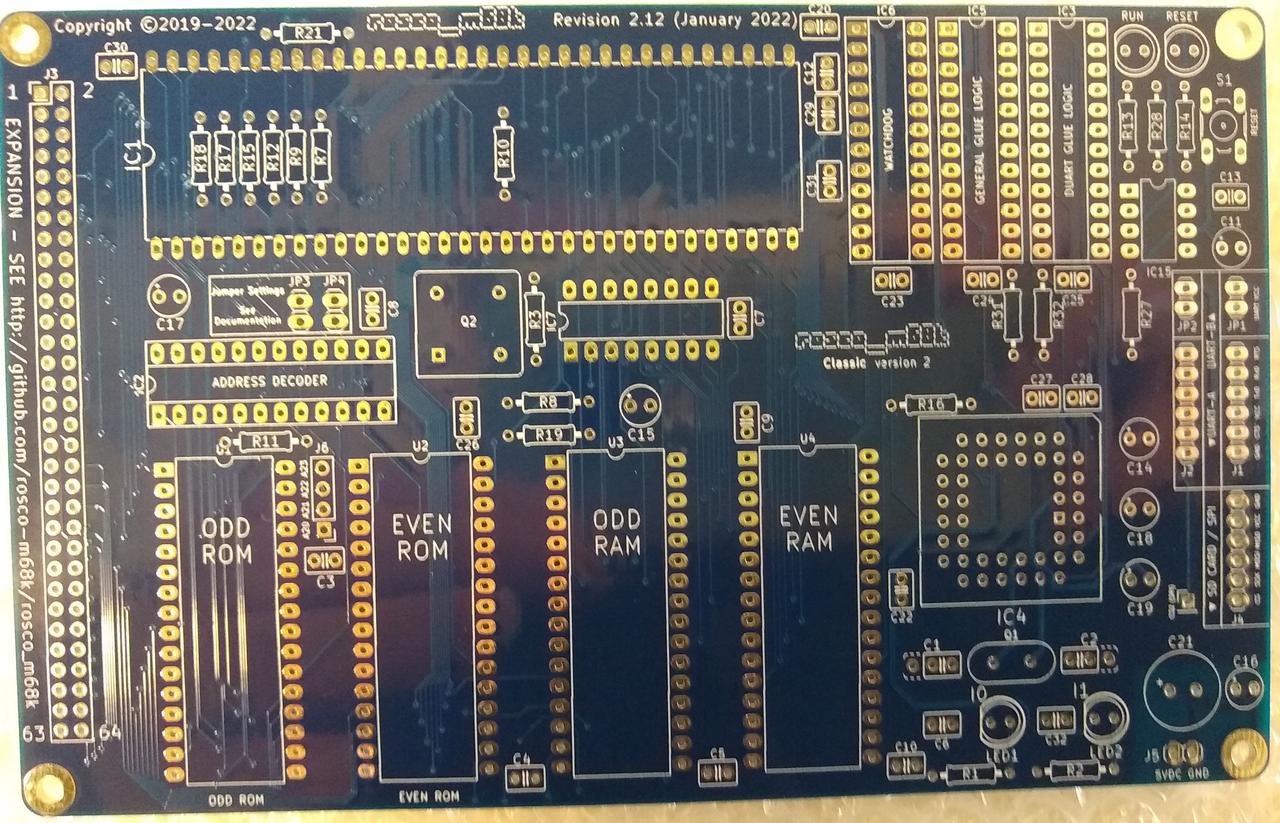
2022-04-28: I started the build at Bitraf in the evening. First I took a couple of pictures of the pcb: picture 1, picture 2.